SMS:Raster Module
At a glance
NOTE: the functionality of this module was incorporated into the GIS module starting with SMS version 12.0
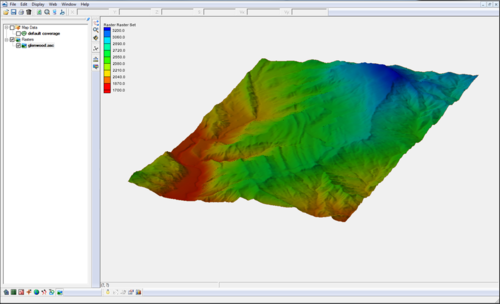
- Open and visualize raster data
- Supports many gridded elevation file formats. A complete list can be found at: www.globalmapper.com/product/formats.htm
- One or more rasters are placed under a raster set in the Project Explorer.
- Convert raster to TIN (scatter set)
- Interpolate data from raster to TINs /2D mesh/2D grid
- Use rasters with observation profile plots
Starting with SMS 12.0, rasters are managed in SMS as objects in the GIS module. All previous functionality is available on raster entities in that module.
Rasters contain data (usually elevation) stored in pixels. Their resolution can vary, depending on the number of x and y cells the raster contains. The Raster Module allows users to open and visualize rasters of various formats and convert them into TIN (scatter sets), and interpolate their data into scatter sets, 2D meshes, and 2D grids.
Raster Sets
Each raster will be stored in a raster set. A raster set may contain multiple rasters. Ofter the data in one raster is also associated to another raster, when each raster is used to cover an area. When this is the case, users should group the raster's together under a single raster set. Raster sets are used in doing interpolation and plotting.
A new raster set can be created by right-clicking on the root raster item in the project explorer, then select New Raster Set. Existing raster's can be moved into a raster set by simply dragging the raster into the raster set.
SMS – Surface-water Modeling System | ||
|---|---|---|
| Modules: | 1D Grid • Cartesian Grid • Curvilinear Grid • GIS • Map • Mesh • Particle • Quadtree • Raster • Scatter • UGrid |  |
| General Models: | 3D Structure • FVCOM • Generic • PTM | |
| Coastal Models: | ADCIRC • BOUSS-2D • CGWAVE • CMS-Flow • CMS-Wave • GenCade • STWAVE • WAM | |
| Riverine/Estuarine Models: | AdH • HEC-RAS • HYDRO AS-2D • RMA2 • RMA4 • SRH-2D • TUFLOW • TUFLOW FV | |
| Aquaveo • SMS Tutorials • SMS Workflows | ||
