AHGW:Converting 2D Cross Sections to 3D Using Subsurface Analyst
This workflow supports creating 3D GeoSection features (that can be visualized in ArcScene) from 2D cross sections stored as polygons. The workflow is useful when we already have 2D cross sections created as polygons (not using Subsurface Analyst tools) and we want to load the data into the appropreate format and apply Subsurface Analyst tools to generate 3D features.
1. Setup a geodatabase + map
- Create a new geodatabase
- Create a new feature dataset
- Set the spatial reference on the feature dataset. Make sure to select a Z coordinate system as well.
- Create a new map.
- Save the map.
- Create the groundwater configuration file (.gwd) using the Create GW Confi GP tool. Make sure the vector location is set to the new feature dataset you created.
2. Create the section line feature class and load section lines
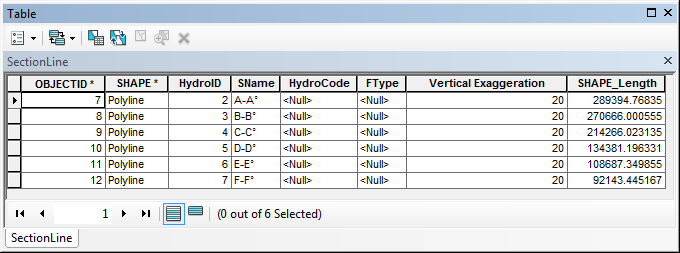
- Run the Create SectionLine Feature Class tool to create a new SectionLine feature class.
- Start an Edit session and load data into the feature class.
- Map the fields such that the unique id value from the original 2D features is written to the HydroCode of the section line features.
- Repeat this process to load all the section lines into the SectionLine feature class.
- Assign HydroIDs to the SectionLine features by running the Assign HydroID Tool located in the Arc Hydro tools.
- Set the vertical exaggeration to 1 (assuming no vertical exaggeration was applied when the cross section polygons were drawn, otherwise modify accordingly).
The SectionLine feature class should look similar to this:
3. Create XS2D_Panel features from the existing polygons
- First you will need to create the XS2D_Catalog table. To create the table run the Create XS2D_Catalog Table tool.
- Import the polygon features from the original geodatabase into the feature dataset you created. When you import, name the feature classes XS2D_Panel_XX where XX is the HydroID of a SectionLine feature (the ones you created and indexed in previous step). You can use the Copy Features tool to do this, so you can batch process all your polygon feature classes in one run.
The following steps should be repeated for each of the cross sections:
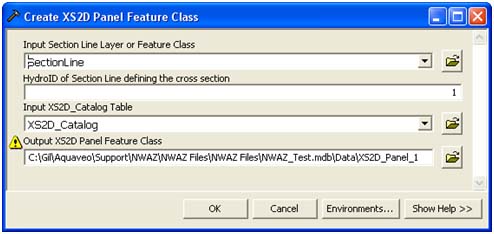
- Run the Create XS2D_Panel Feature Class tool. This will add the appropriate fields to the original polygons and will also update the XS2D_Catalog accordingly. You shouldn’t lose original data, just new fields should be added to match the XS2D_Panel feature class design.
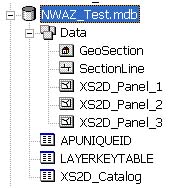
- Assign HGUCode values. Used the Field Calculator to copy the values to the HGUCode field. You can also assign HGUID values. We do this because currently the tool that creates 3D GeoSection does not copy over other fields, it will copy the HGUID and HGUCode. The output feature classes should look like this:
At the end of this process you should have a set of XS2D_Panel feature classes, and a single SectionLine feature class (ignore for now the GeoSection feature class, it is added later).
While creating feature classes with the Subsurface analyst tools the XS2D_Catalog table is also updated. Your XS2D_Catalog will look similar to this:
4. Create 3D GeoSection features
You can do this part in ArcScene to better visualize the 3D features created.
- Close ArcMap.
- Create a new Scene.
- Open the configuration file using the Open Arc Hydro GW Configuration tool.
- Save the scene.
- Set a vertical exaggeration so you can better visualize the data.
- Load the SectionLine feature class, the XS2D_Panel feature classes, and the XS2D_Catalog table.
- Run the Create GeoSection Feature Class tool.
- Run the Transform XS2D_Panel to GeoSection tool. You can run the tool for all section lines at once or select the SectionLine feature you want to process.
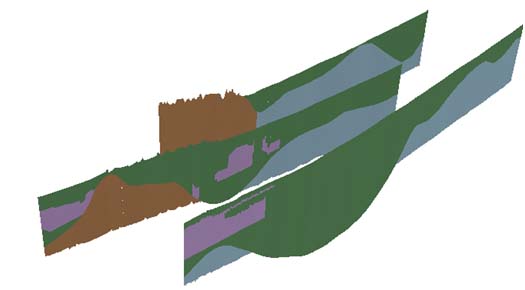
Voila, you should get a nice view of your cross sections in 3D. You can symbolize them by the HGUCode.
| [show] AHGW – Arc Hydro Groundwater Toolbox |
|---|


