WMS:Preferences
Changing the preferences for the WMS interface can be done through the Preferences dialog. This dialog can be reached by going to the Edit menu and selecting the Preferences command or through the Project Explorer right-click menu.
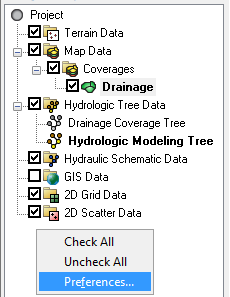
A Preferences dialog can be opened to control display and default settings/behaviors in the Project Explorer by right-clicking in the empty space of the Project Explorer.
The Preferences dialog can be used to control the following:
- By default WMS will not switch modules when selecting one of the folders, or data objects within a folder from the Project Explorer, but the preferences can be changed so that each time a data folder/object is selected WMS automatically switches to that modules as if the module icon had been simultaneously selected
- The time step window used with transient datasets of TINs, grids, and scatter points is not shown at the bottom of the Project Explorer unless such a dataset exists and the TIN, grid, or scatter point set is selected. An option can be toggled on so that it always appears as it did in previous versions.
- The Scroll project explorer when changing the module option forces WMS to scroll the Project Explorer such that the data folder corresponding to the active module appears at the top of the window.
- WMS 8.0 and later deals with images differently than past versions. The Image Preferences tab controls these options, including building pyramids and image conversion.
The preferences dialog containes the following tabs:
Files
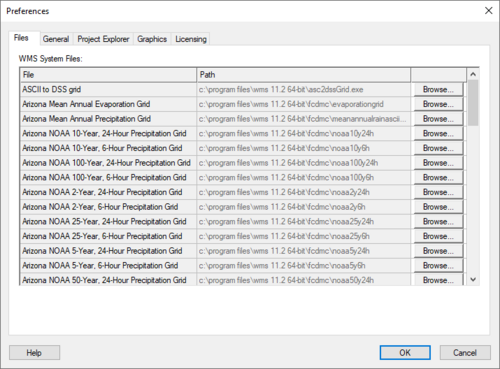
The Files tab of the Preferences dialog displays all the system files being used by WMS. The file name and file path are show. Clicking the Browse button next to a file allows redirecting to a different file.
General
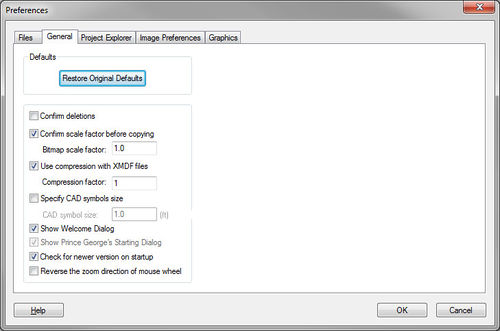
The General tab contains the following options:
- Defaults
- Restore Original Defaults – Clicking on this button will reset all of WMS's preference to the default factory condition.
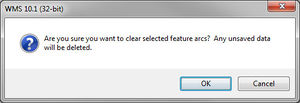
- Confirm deletions – Selecting this option with cause the Confirm Deletion dialog to appear when deleting a feature object.
- Confirm scale factor before copying
- Bitmap scale factor
- Use compression with XMDF files
- Compression factor
- Specify CAD symbols size
- CAD symbol size
- Show Welcome Dialog – When turned on, the WMS Welcome dialog will appear when WMS is launched and WMS will check for updates.
- Show Prince George's Station Dialog
- Check for newer version on start-up
- Reverse the zoom direction of mouse wheel
Project Explorer
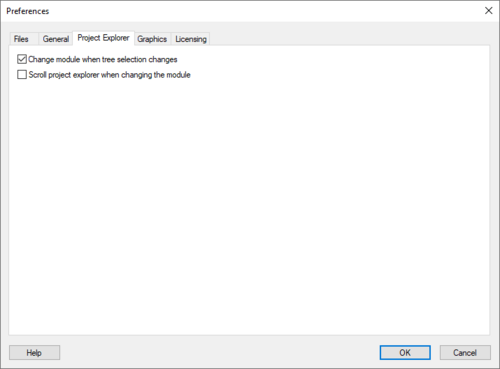
This tab has two options that can be toggled on or off:
- Change module when tree selection changes – toggling this option will cause the selected module in the Module Pallette to change to match the module selected in the Project Explorer.
- Scroll project explorer when changing module – when this option is toggled on, selecting a module in the Module Palette will cause the project explorer to scroll so that related module is visible in the Project Explorer. If the module can already be seen in the project explorer it will not change.
Graphics
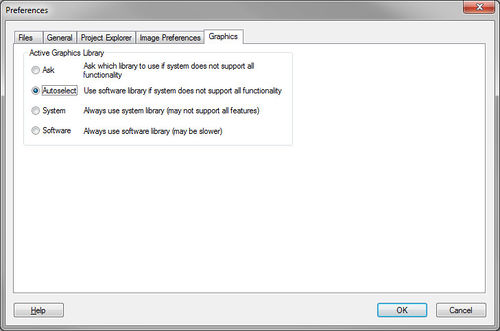
The Graphics' tab contains the following options:
- Active Graphics Library
- Ask – Will cause WMS to ask which library to use if system does not support all functionality.
- Autoselect – WMS will use software library if system does not support all functionality.
- System – Will cause WMS to always use the system library which may not support all features.
- Software – Will cause WMS to always use the software library which may be slower.
Related Topics
WMS – Watershed Modeling System | ||
|---|---|---|
| Modules: | Terrain Data • Drainage • Map • Hydrologic Modeling • River • GIS • 2D Grid • 2D Scatter |  |
| Models: | CE-QUAL-W2 • GSSHA • HEC-1 • HEC-HMS • HEC-RAS • HSPF • MODRAT • NSS • OC Hydrograph • OC Rational • Rational • River Tools • Storm Drain • SMPDBK • SWMM • TR-20 • TR-55 | |
| Toolbars: | Modules • Macros • Units • Digitize • Static Tools • Dynamic Tools • Drawing • Get Data Tools | |
| Aquaveo | ||
